
I put on all my gear and took the Honda RC-51 out of the truck today… had some fun on riding on the salt flats. Set up my camera on timer for this shot… used my gloves for a tripod. ;P
The last part of the Monster building process that I wrote an ‘official’ article about was when I finished the rolling chassis at SDS and moved it to my living room for awhile.
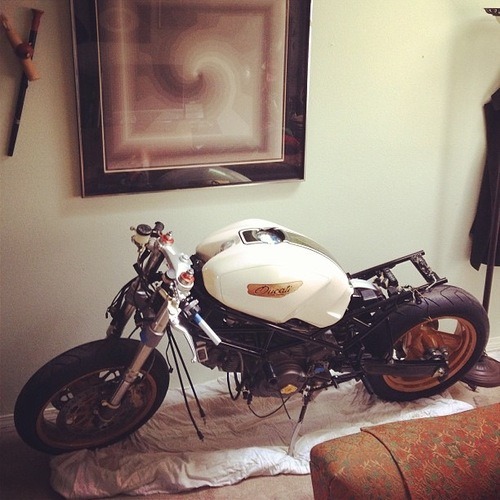
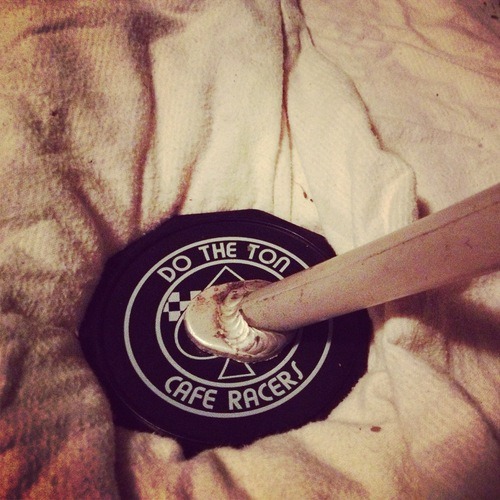
Ladies and gents, if you leave your bike parked in your living room, make sure you use one of these.
In the interim, I went parts shopping at MotoCorsa.

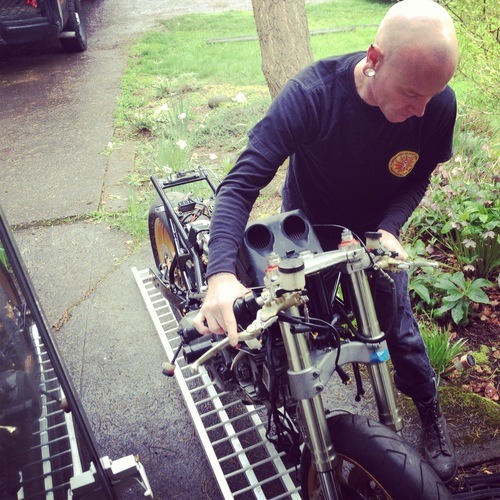
When the time came for Heath to come transport the Monster to his shop, we backed it up out through my front door and loaded it up into his truck.
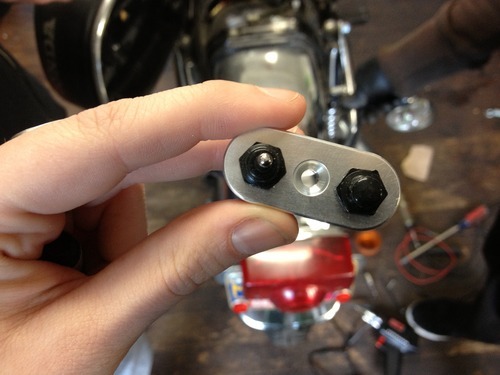
Then I went to MotoFactory to talk doodads and plan out switches for signals, lights, ignition button etc.
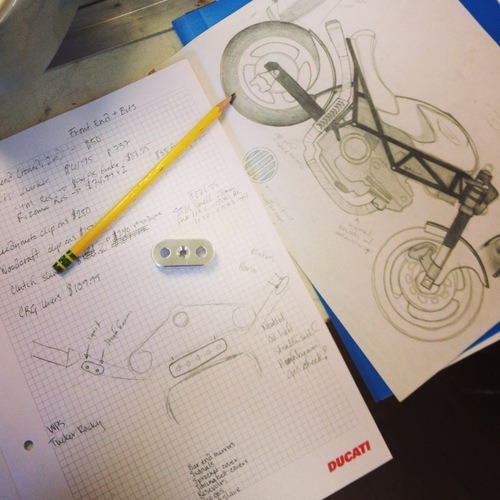
Planned to go something like this on my clip on bars.
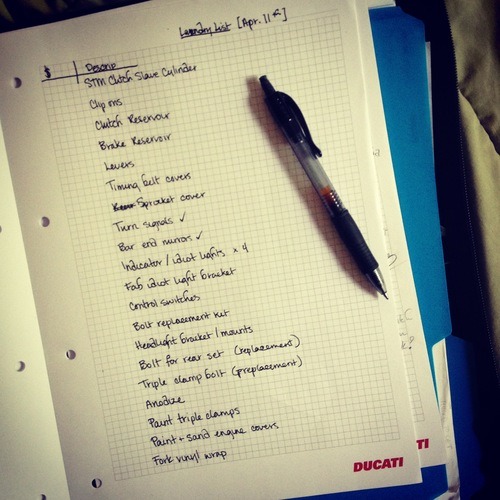
The laundry list of finishing touches at this point was long.
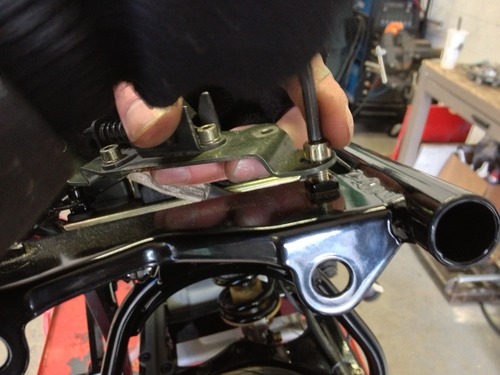
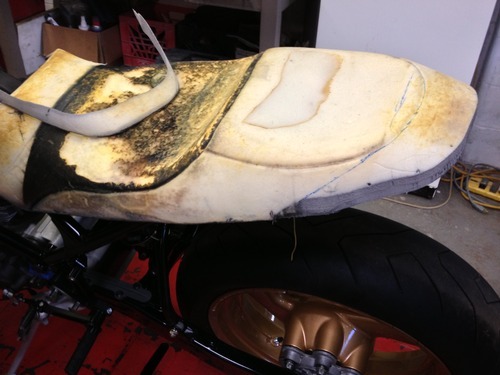
Back to Heath’s shop to work on the little and sometimes painful details that are also the most important parts when you really look at it. We had to modify the lock mechanism, move the latch on the bottom of the seat, and cut the seat down because I chopped about five inches off the tail of Monster’s sub-frame.
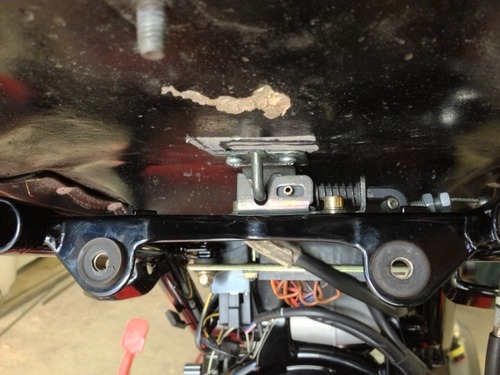
There was an extra tab that needed to be cut off to line up with the new placement of the mechanism.
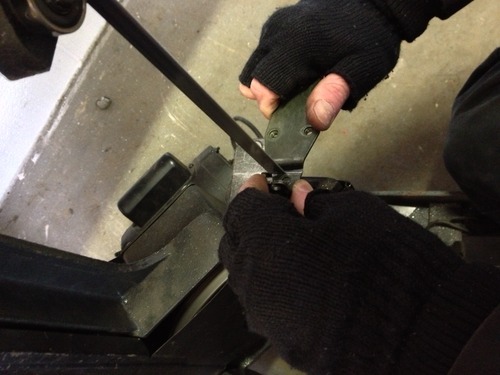
After reattaching the plate, we replaced the seat to mark where the pan would be chopped and the latch mounted.
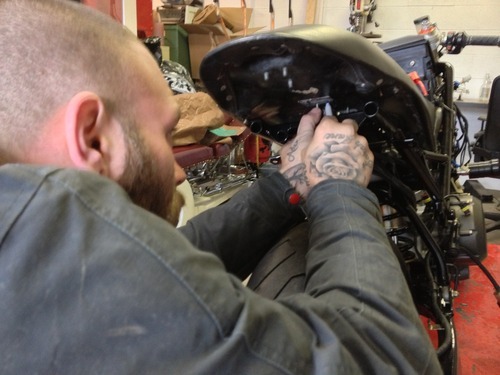
Drilled into it’s new home, it now fits snugly into the relocated seat latch system (which is stock to begin).
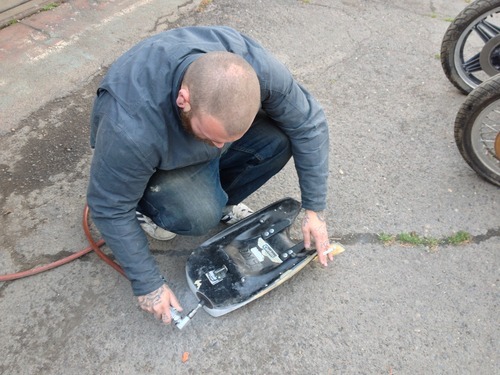
Shelby and I then prepped the seat for pan chop, foam reshaping, and reupholstery. Step one… drill out the rivets of the Corbin seat pan so we can peel off the leather.
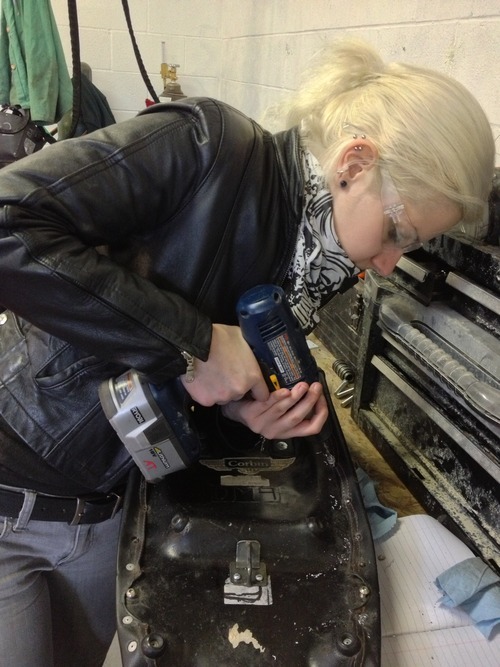
We had to be careful when removing the leather to not pull chunks of foam out too. Heath said something about how they literally fill the seat pan and mold with foam so it all just fuses together.
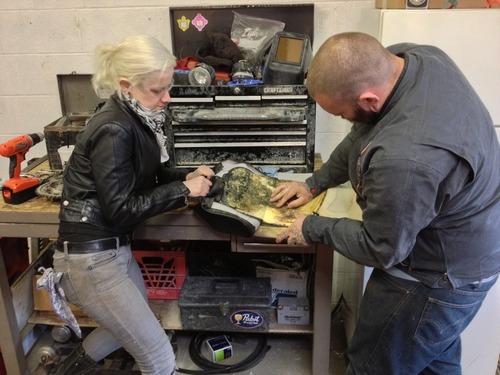
We did alright, and Shelby had plans to shave down some of the top material anyway so it worked out alright.

We made one run, and it was no where near short enough.
So we went at it again.
It was kind of square, but the length was closer.
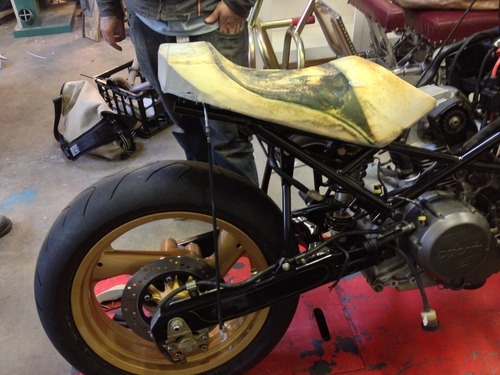
No more back seat!
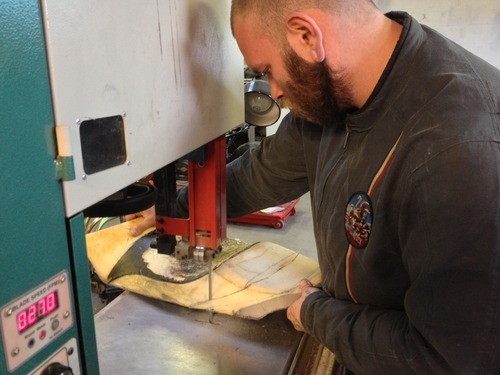
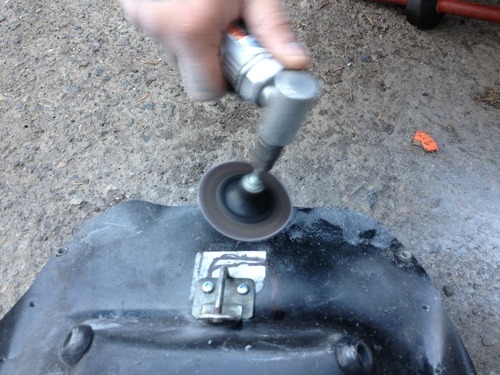
Some time was spent with the rotary grinder rounding out the edges…
…and grinding down some of the pan edges to be a little less bumpy. It seems the Corbin seat molds/pans are not completely uniform. As you can see on the left edge of the pan in the photo below, we cut right into an area that bends down a bit more and would therefore look horrible on the exposed back of the bike.
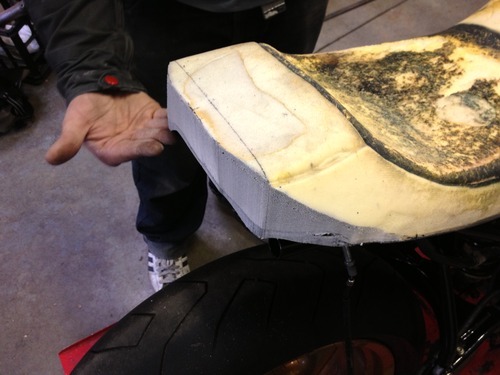
Ah, yes. That is looking much better.
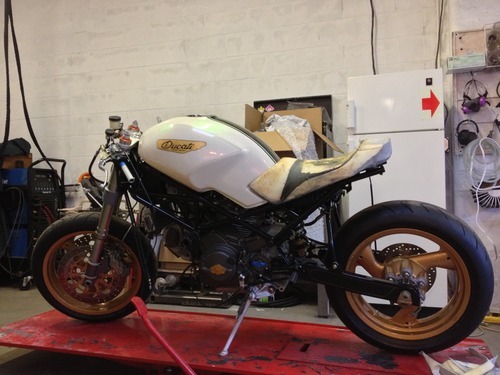
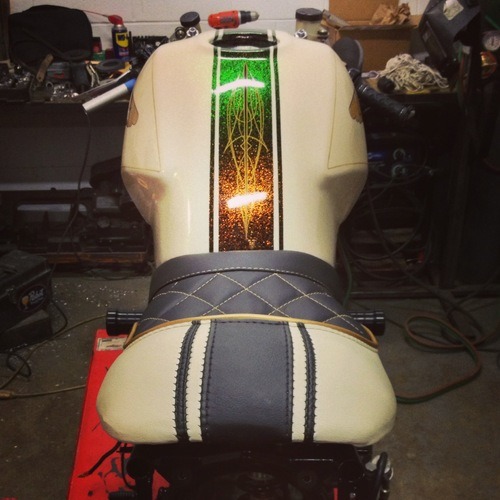
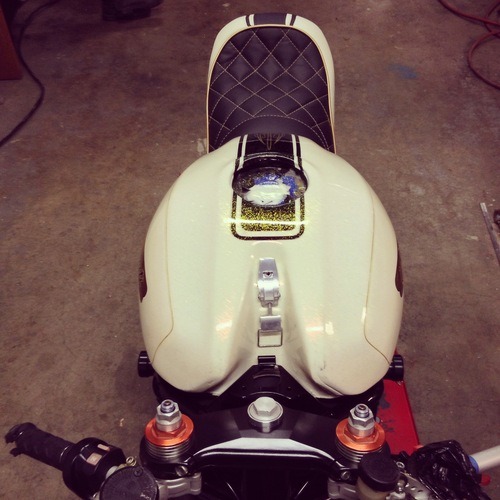
This was the first time I had ever seen my design truly come to fruition. It had been a bike without a rear end for so long… I sat on it and it felt just right.
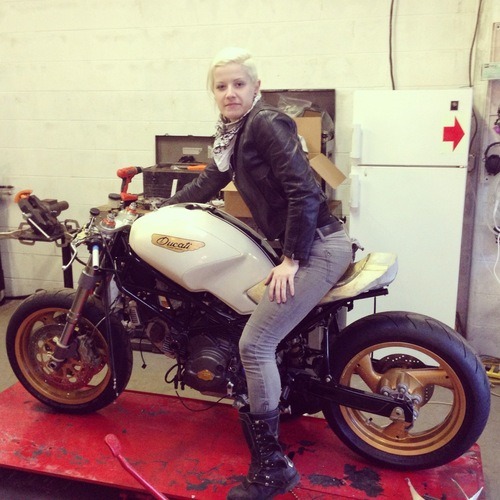
I then handed it off to Shelby so he could take it home and do some detailed cutting work to reshape the curve and deck it out with new upholstery. Holy crap did he deliver.
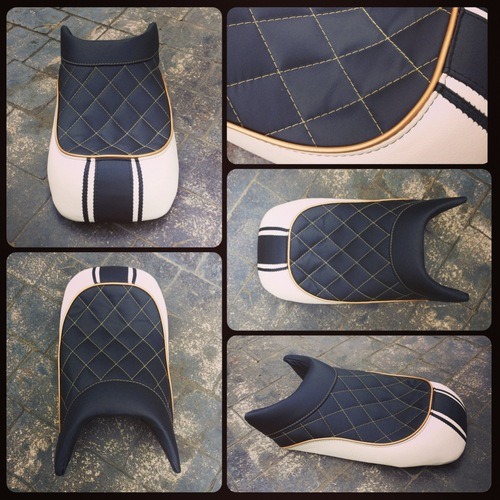
Shelby Shaffer of Reap What You Sew custom upholstery is AMAZING and my god, I couldn’t have asked for a more perfect execution of our design plan. Wow, wow, wow. So glad I let him do his thing with the gold piping and that he talked me out of having the whole thing be ivory.
It’s literally like… everything I always wanted it to be and MORE.
The lines, they’re all finally coming together.
Look out for the next build log article for the next phase, removing/refinishing the engine covers.
I put on all my gear and took the Honda RC-51 out of the truck today… had some fun on riding on the salt flats. Set up my camera on timer for this shot… used my gloves for a tripod. ;P
Posted on October 11, 2013 in Blog, Motorcycles by Alicia Mariah Elfving