
Bessie Stringfield fought for civil rights and equality by doing what she loved despite the struggles and danger that came with riding motorcycles.
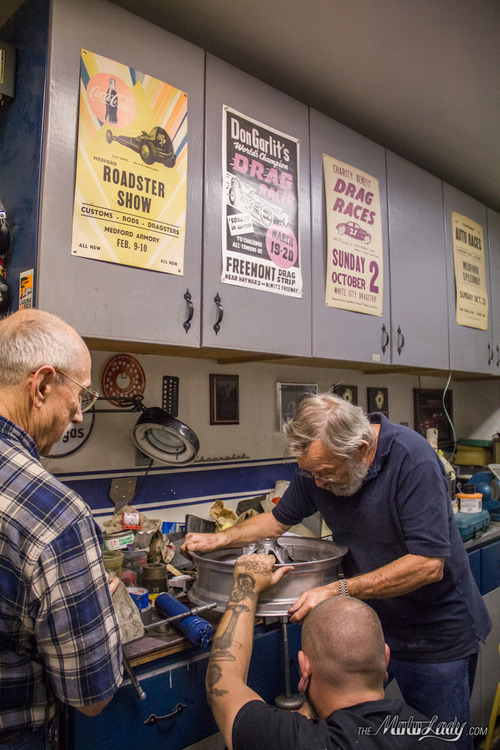
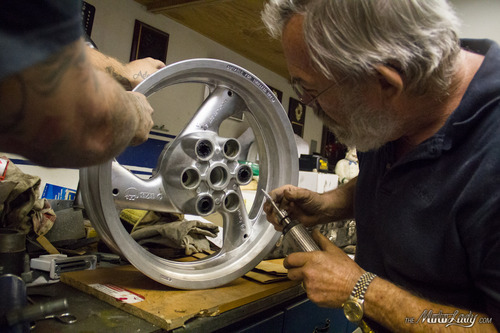
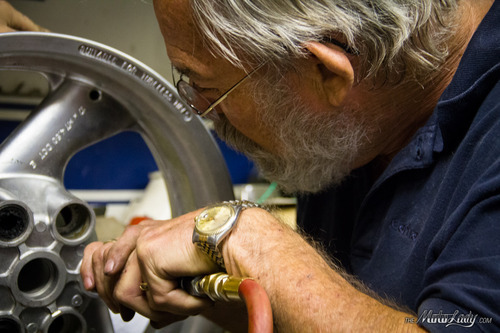
We’re going back in Monster Project time for a moment to the process of actually removing my cush drive rubbers. If you recall my last post on this topic… my attempts were unfruitful. I called my friend Shelby and asked if we could get my cush drive rubbers out of the rear wheel. He told me we could go over to his grandpas and figure it out one way or the other.
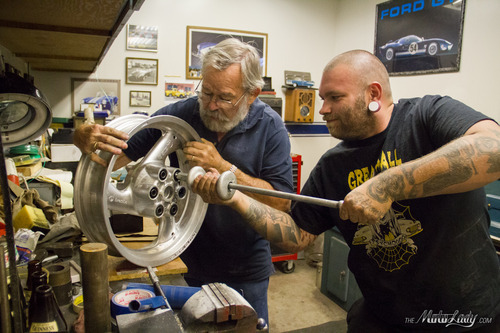
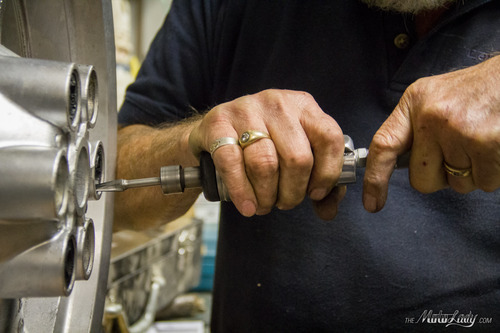
First they tried the slide hammer (which I had tried once as well).
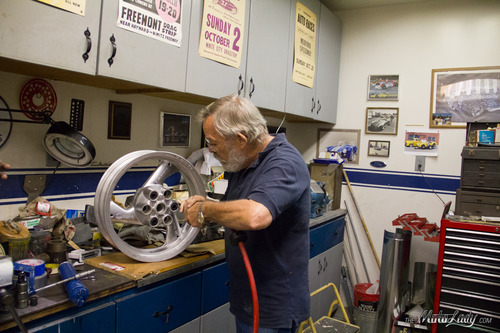
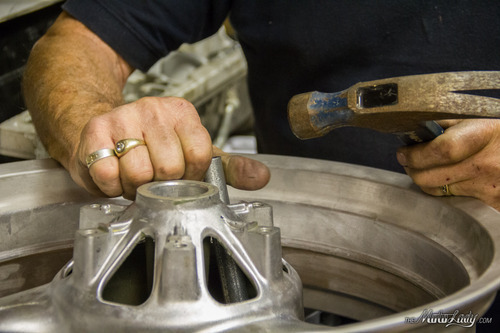
Then decided to get a better angle on it using the counter.
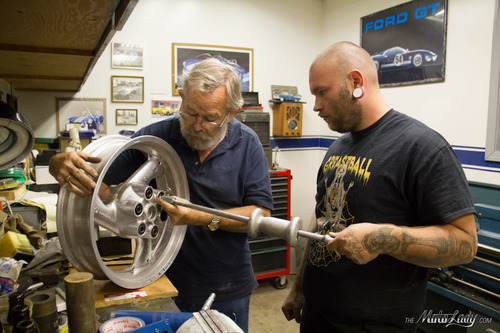
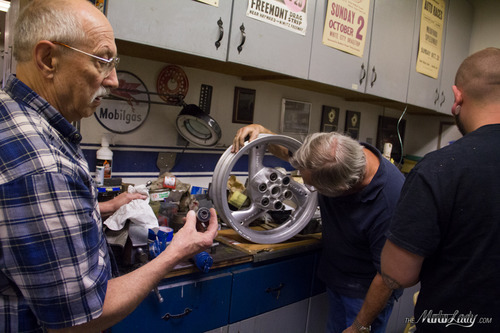
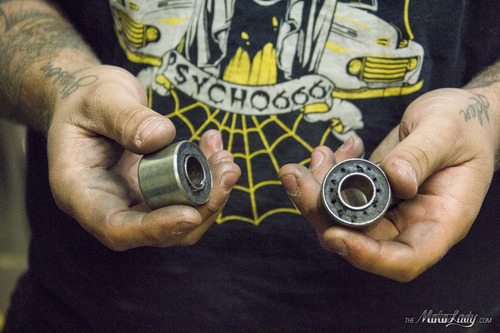
It worked for the first one…
Got a little surprised look out of the ol’ graybeard…

…decided to try again.
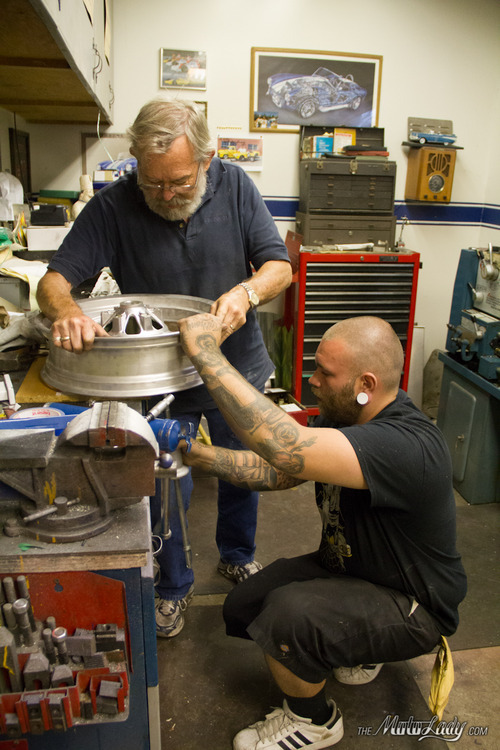
We were not so lucky with the other rubbers.
Discussions happen.
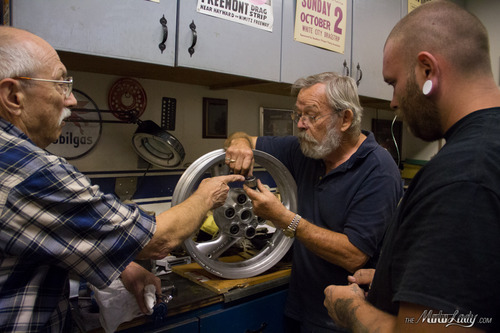
With some more slide hammering we got the second one out.
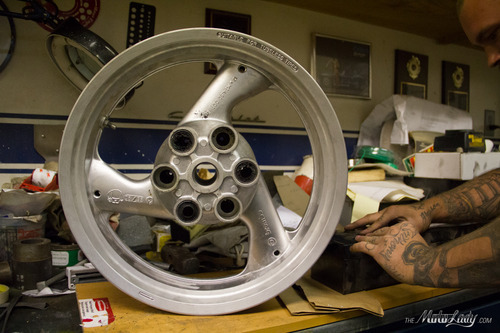
After trying again, we instead had the centers pull out from my previous drilling.
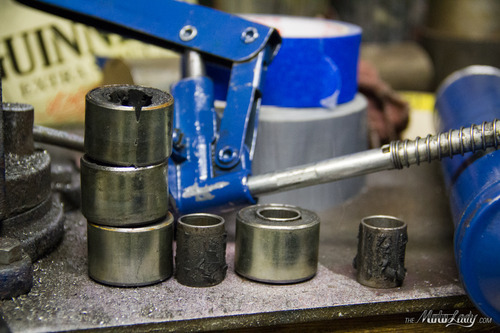
Three out, and three without centers.
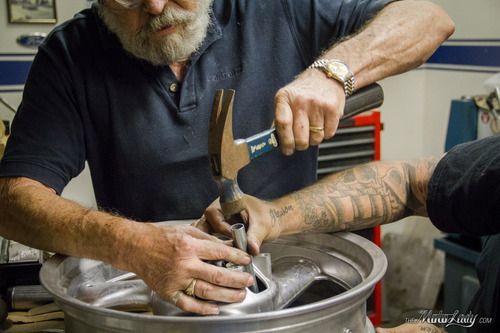
We tried drilling out the rubber…
That didn’t work, so Shelby went at it with an exacto knife.
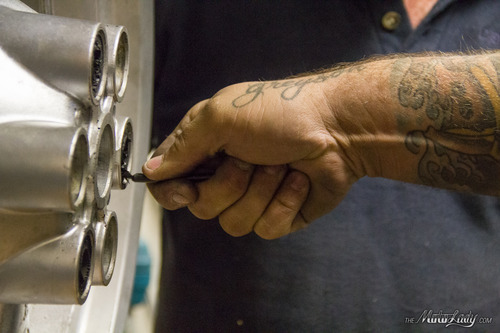
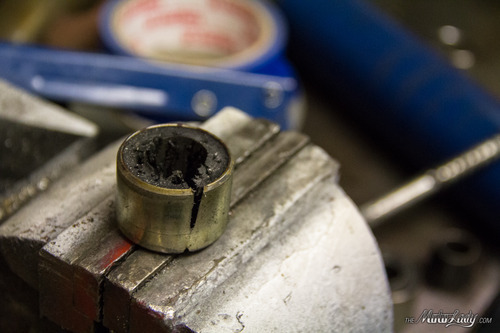
And then the delicate drilling process commences.
The object was to break through the outer layer of metal so we could knock it out afterwards.
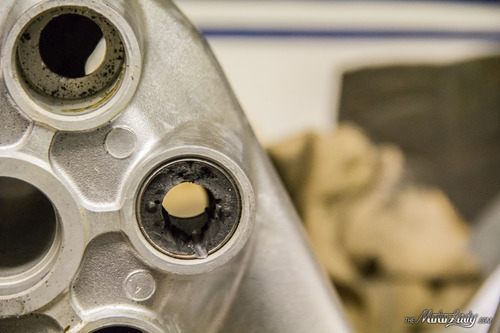
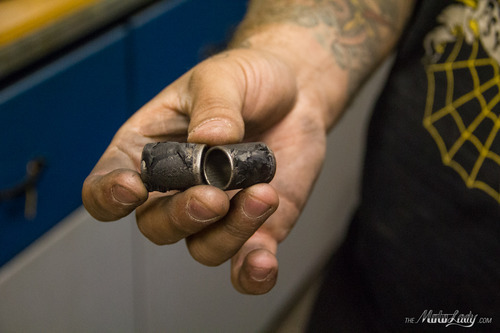
We went in from behind with a small tube angled up against the outer metal rim and used a hammer to break it free. (Snickers)

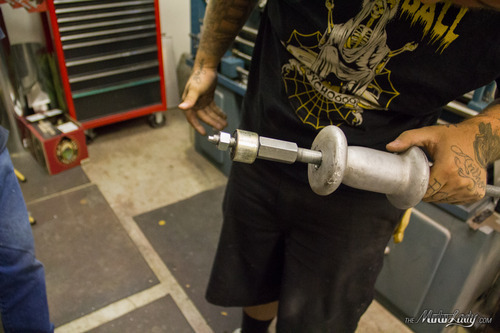
FINALLY!

They got easier as we carried on…
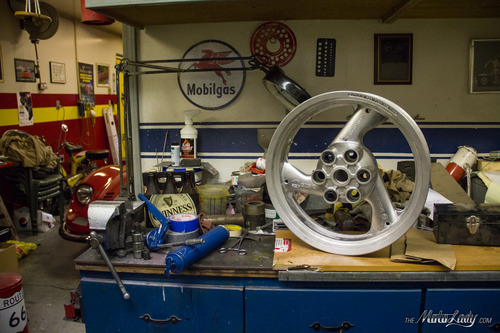
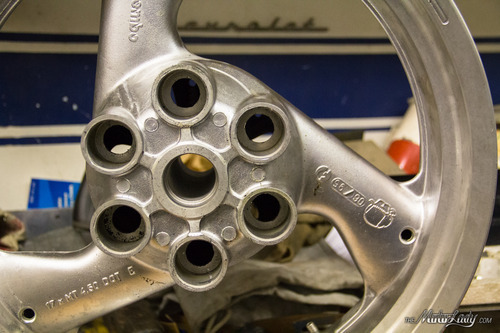
The happiest moment I had in a while… all of those stupid things OUT! After this I went on to having them painted.
Look at all the dead soldiers.
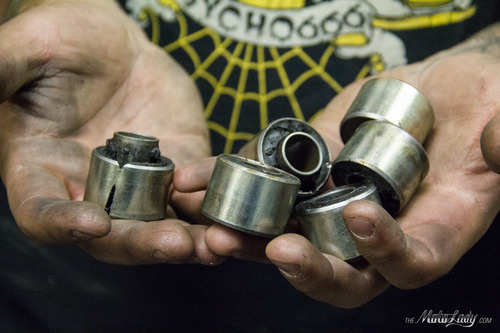
So, by the way… having to remove cush drive rubbers this way is not abnormal I guess. As per the techs at MotoCorsa, heat/cutting is often necessary. These little brats often have to be pressed in.
Bessie Stringfield fought for civil rights and equality by doing what she loved despite the struggles and danger that came with riding motorcycles.
Posted on December 11, 2012 in Motorcycles by Alicia Mariah Elfving