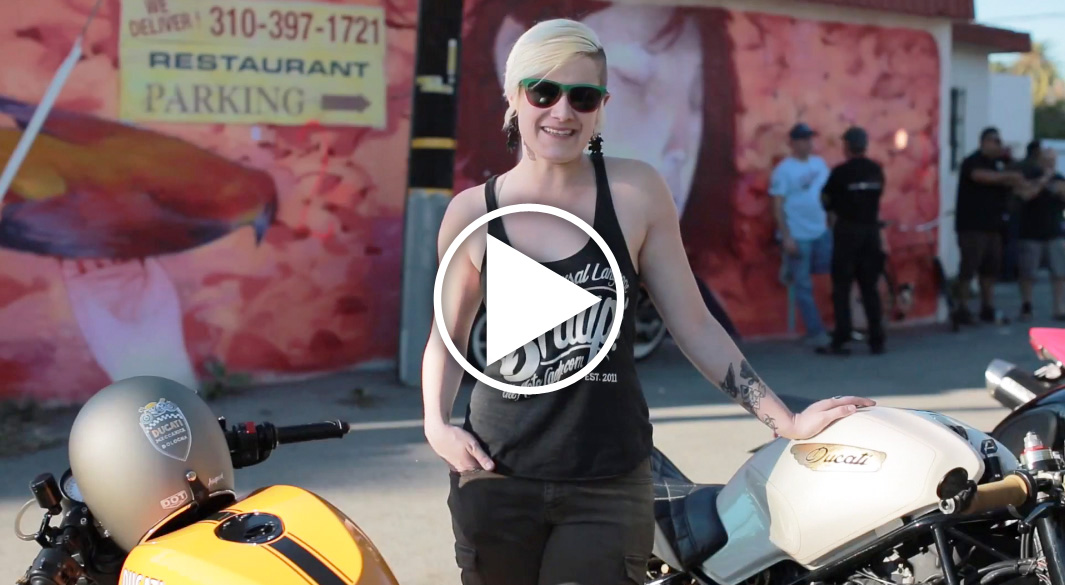
Twenty previously unreleased photos with the MotoLady built custom Ducati Monster by the incredibly talented photographer Jimmy Ban!
Twenty previously unreleased photos with the MotoLady built custom Ducati Monster by the incredibly talented photographer Jimmy Ban!
Reviewing one year of mental affects from crashing hard on my custom built motorcycle at nearly 60 miles per hour. Are motorcycles a death wish, or a tool for empowerment?
Photos from a fun three days working on an episode for season 3 of Stories of Bike. Including the Monster, and the Dual Sporty project!
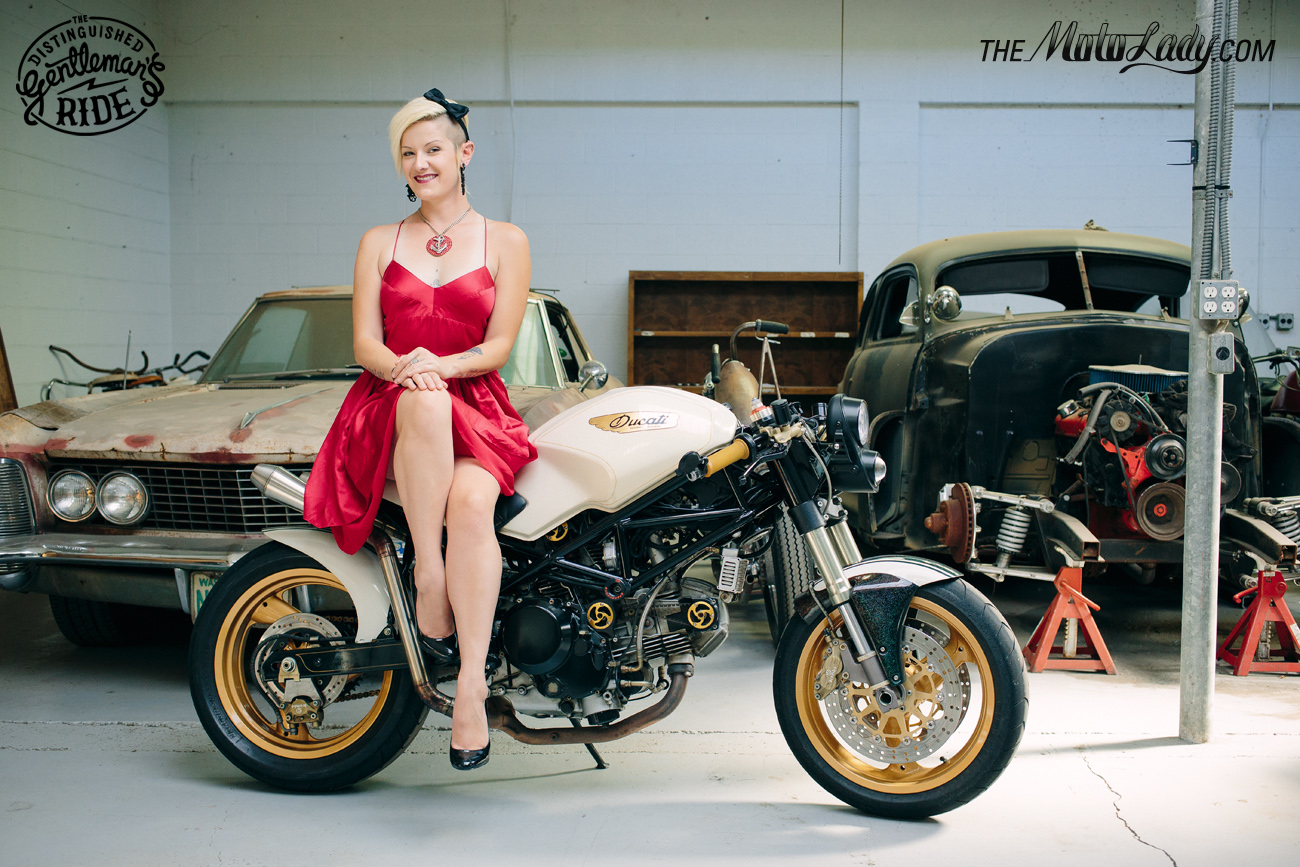
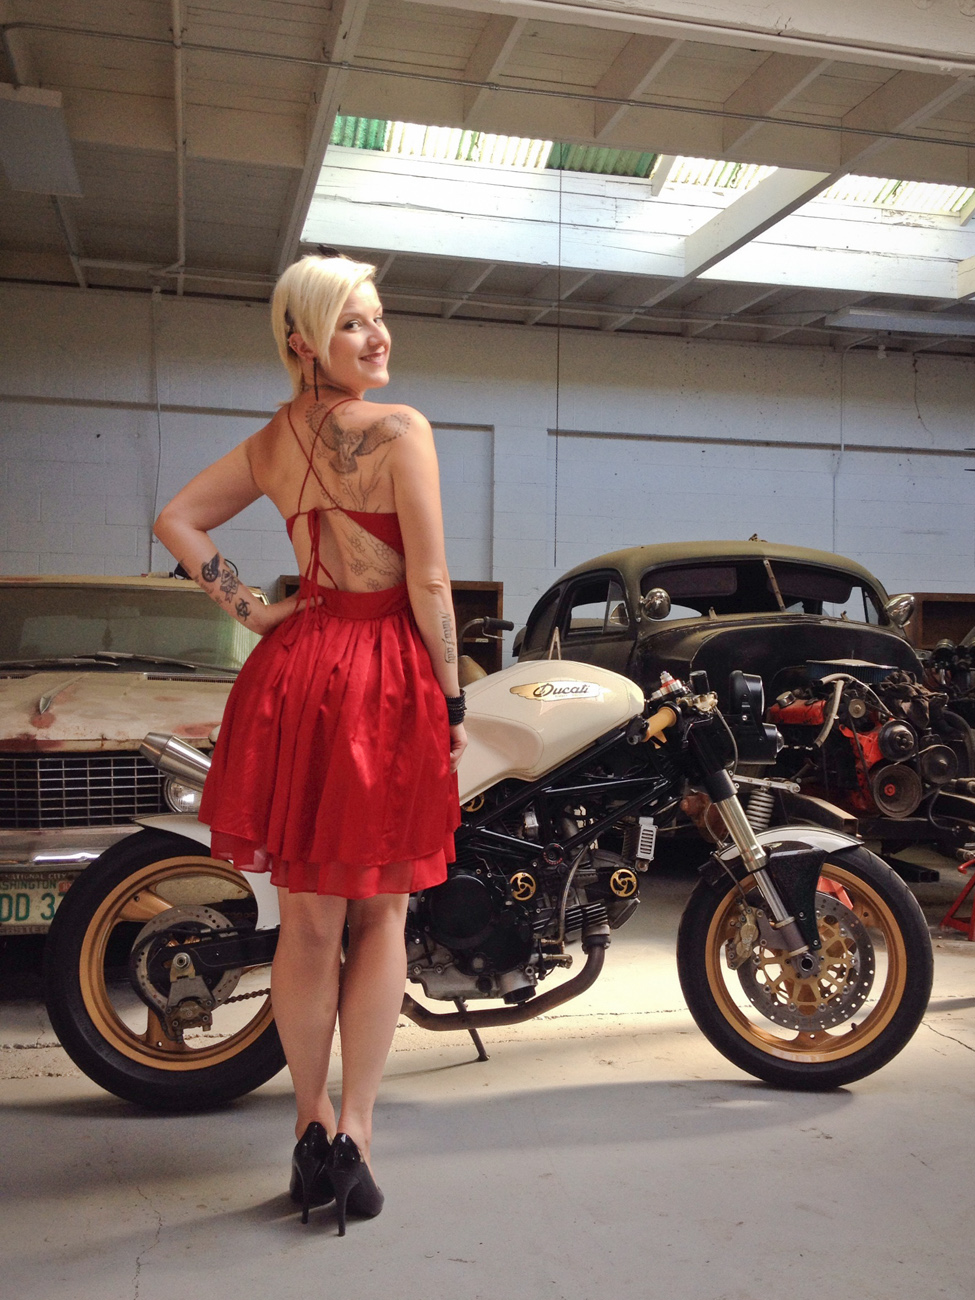
The Distinguished Gentleman’s Ride is a worldwide ride for charity. Dress up, look dapper, raise money for cancer. And hey, it’s not just for the Gentleman!
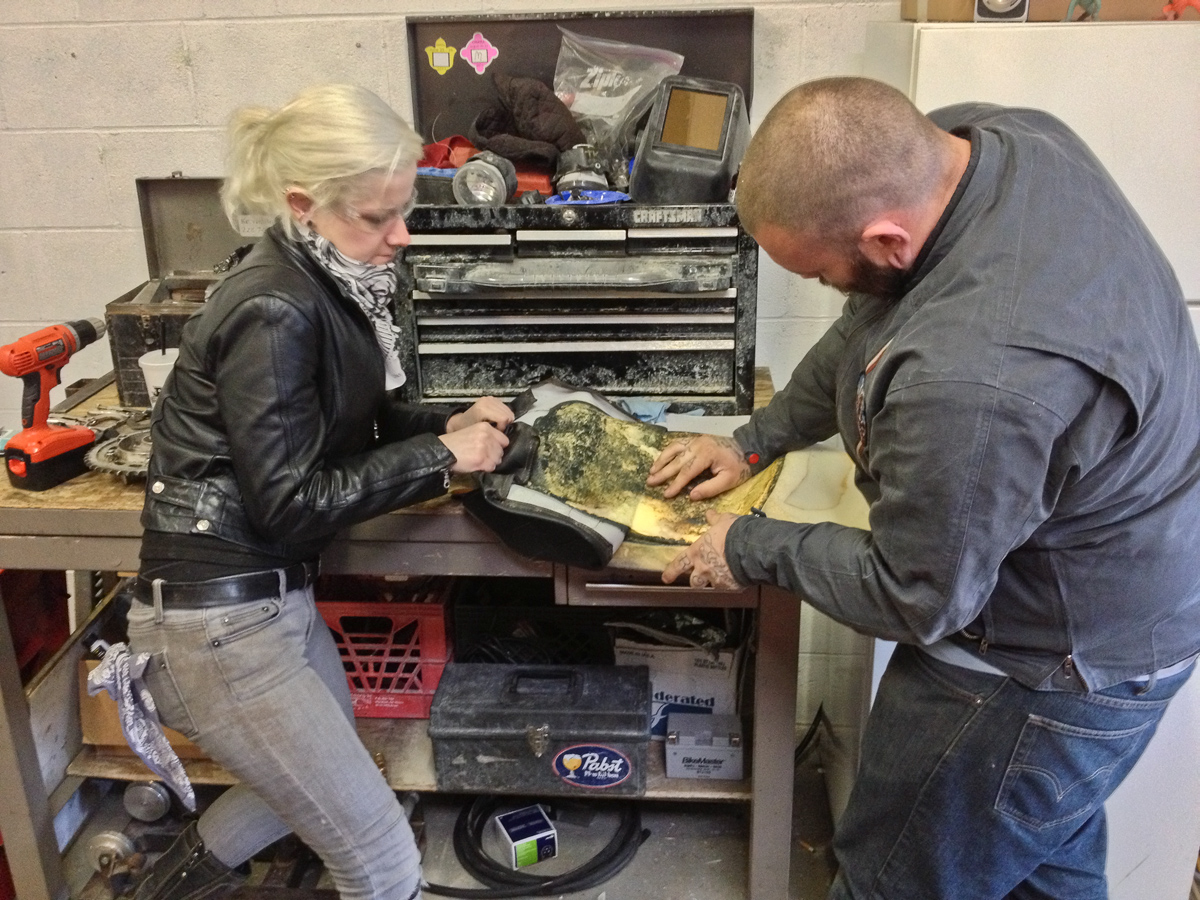
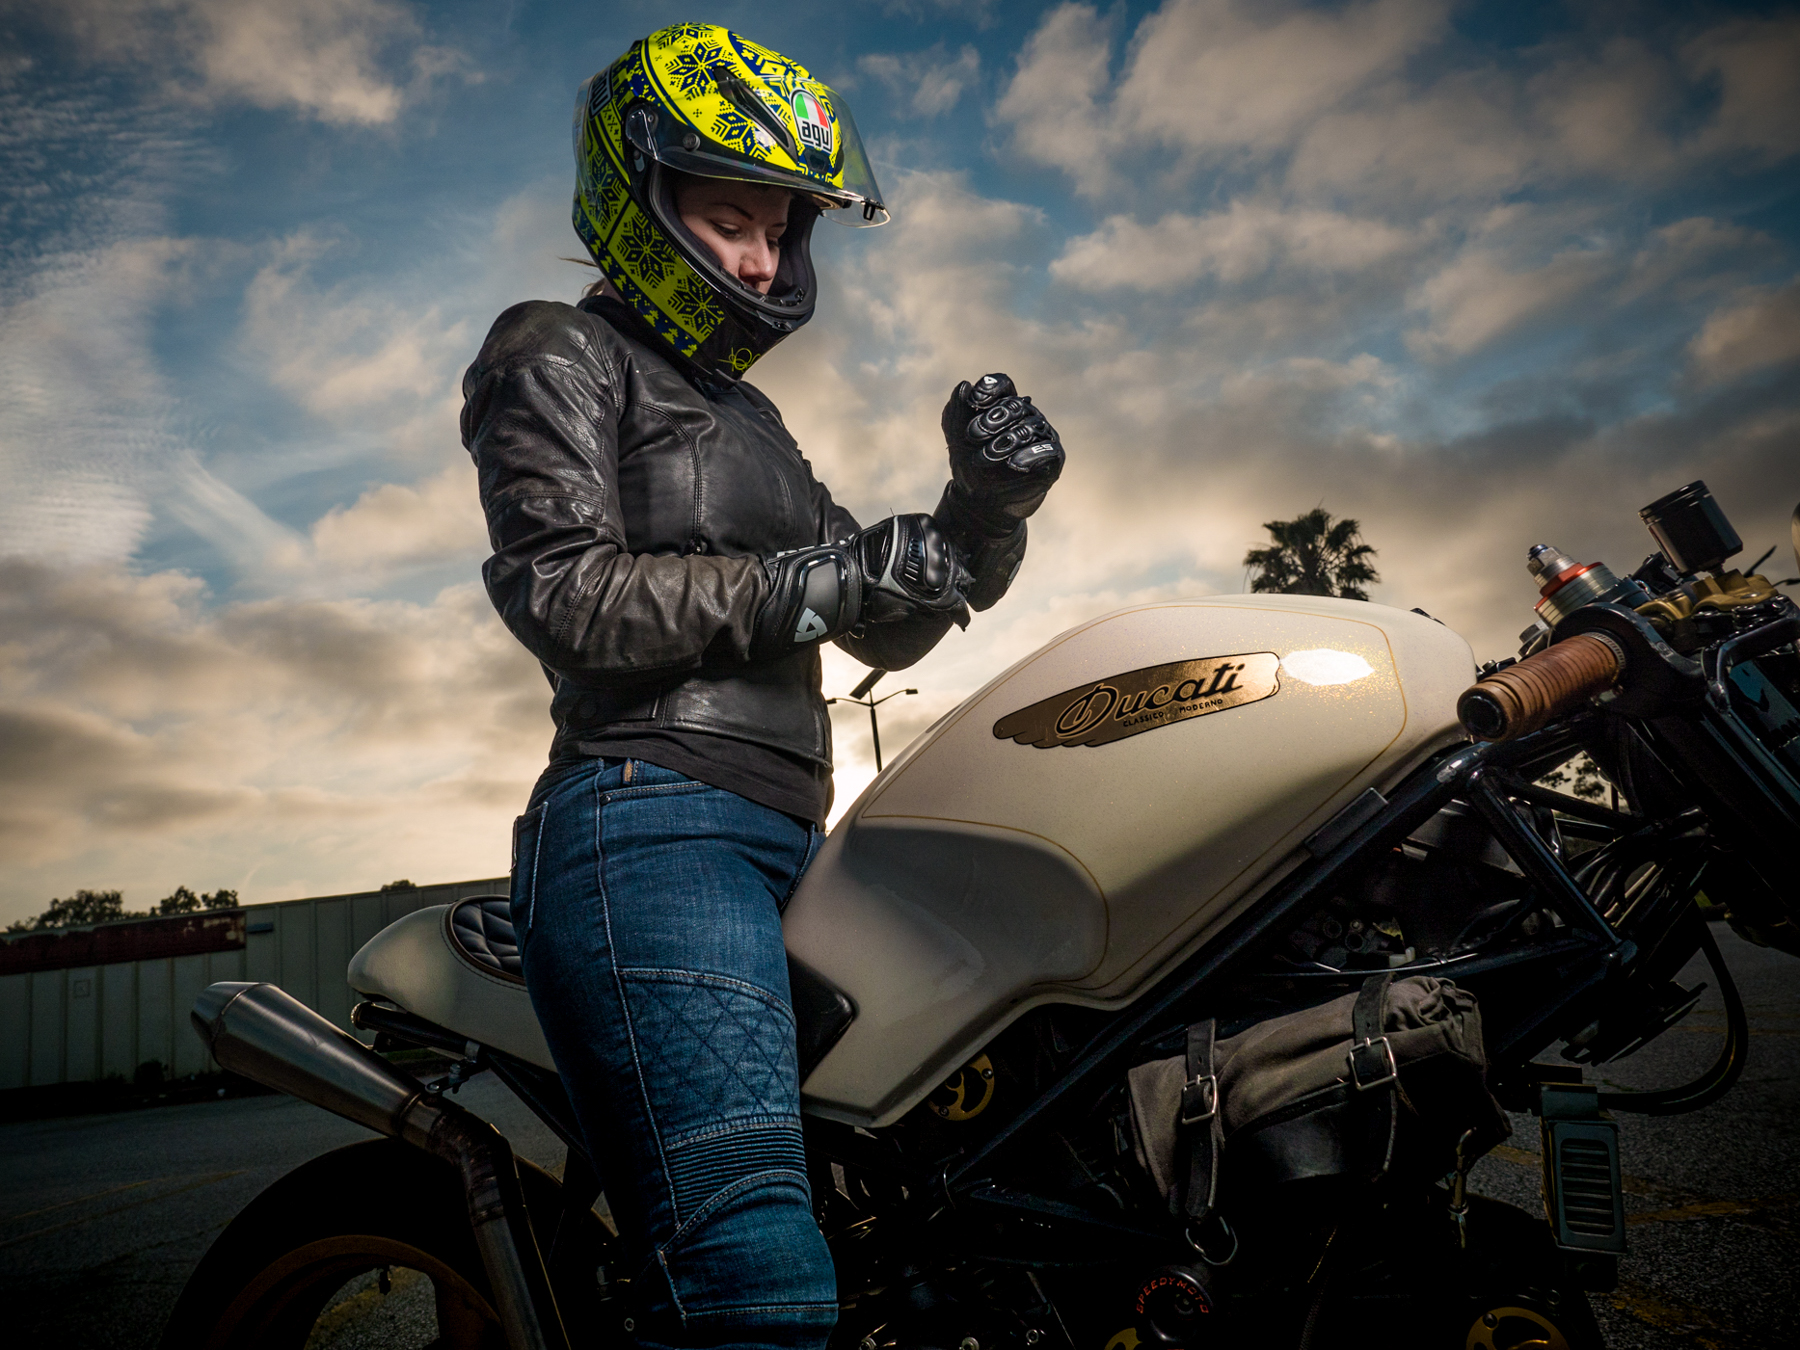
Every Throwback Thursday we’ll be bringing you a new section of the MotoLady Monster Project. Reviewing each piece of the process! This week, the transformation of the tail.
Behind the scenes and sneak preview photos from the fancy MotoLady shoot with Scott G. Toepfer.
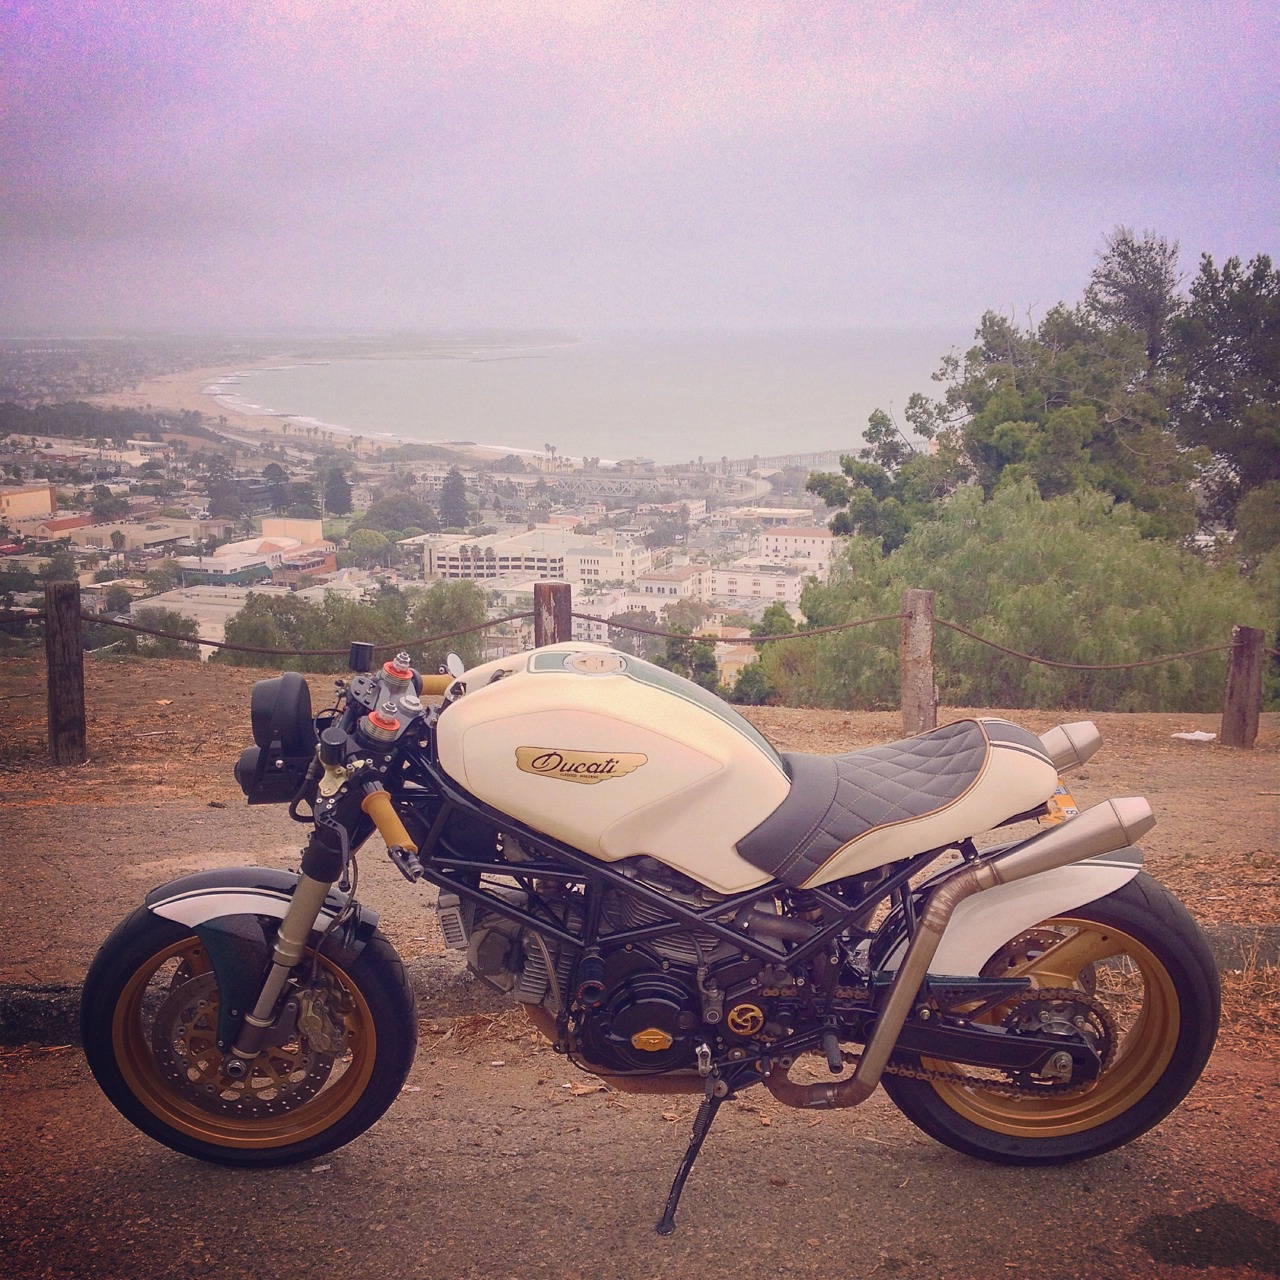
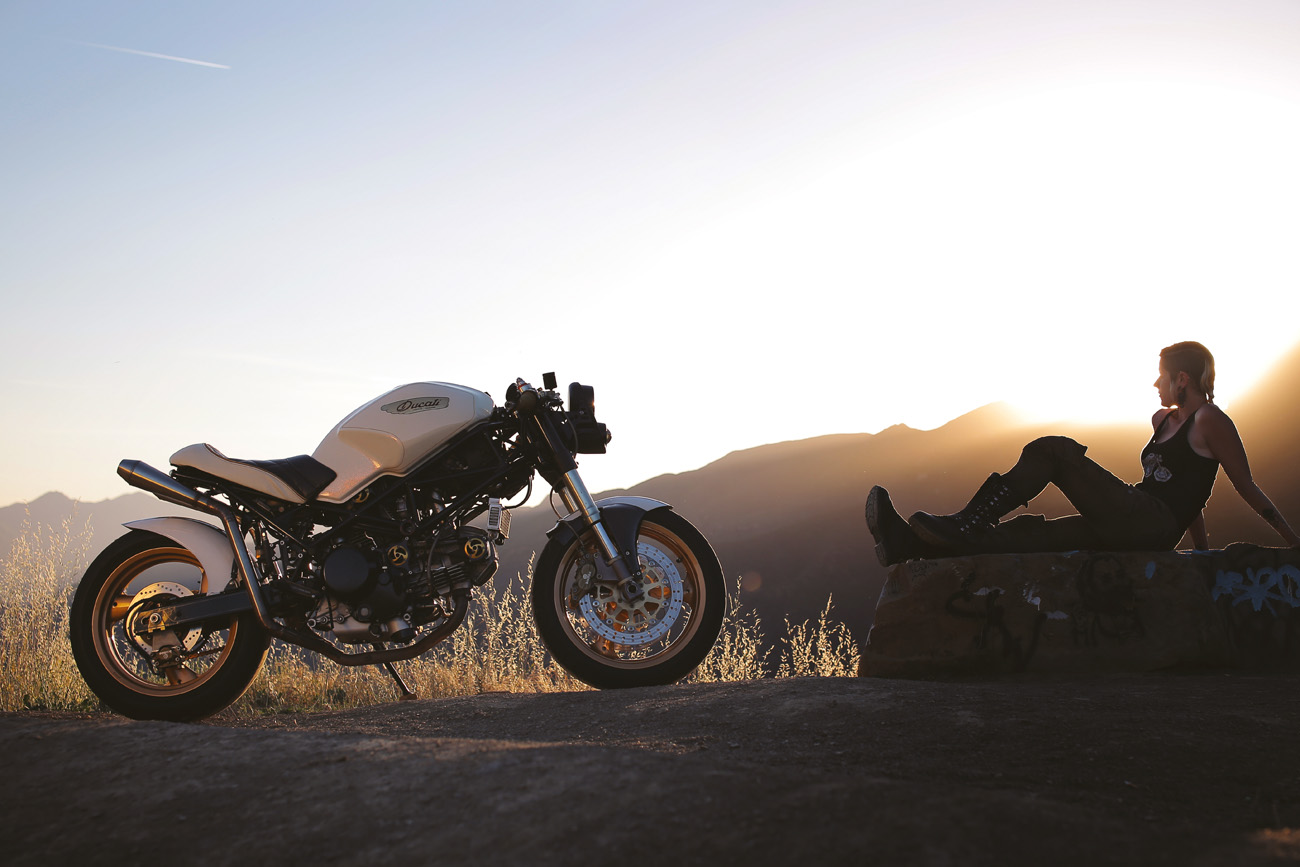
The lovely Pandora and I went for an evening ride on this overcast and warm Ventura day. Soft clouds make for great photos, it’s a giant softbox in the sky dampening and washing all the sun around.
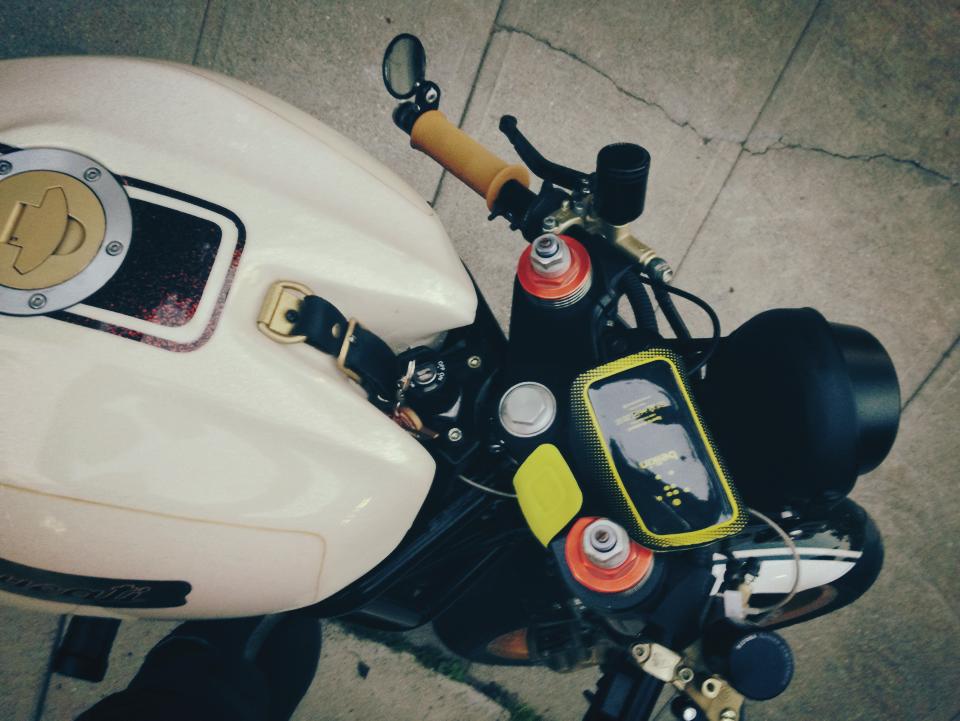
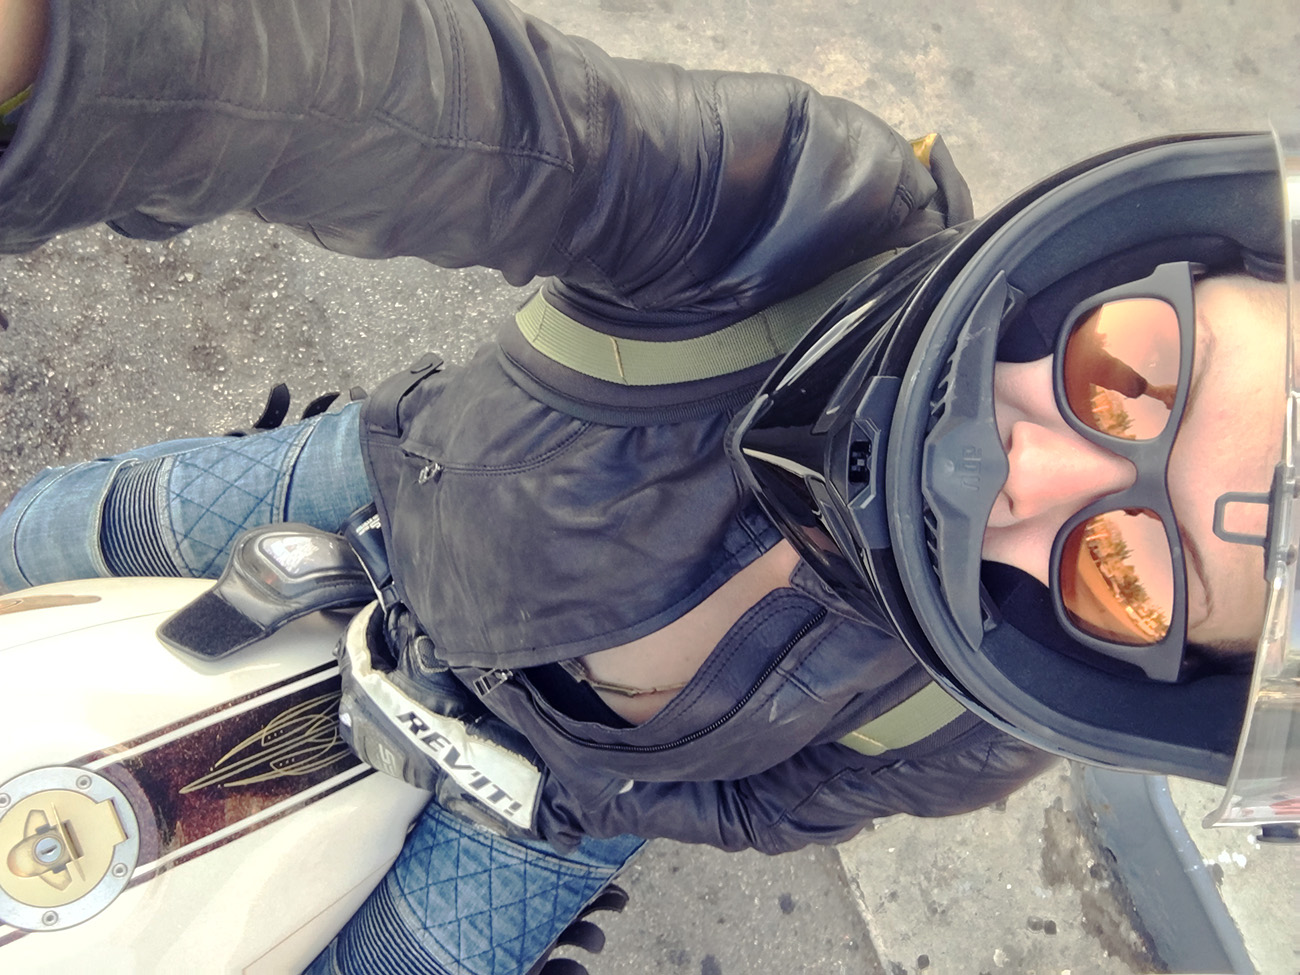
Since I don’t run any gauges on my Monster, I’ve been asked quite a few times about my phone speedometer and GPS set up- and it’s not as impressive as you’d assume. But there are quite a few options out there.