Photos of the crazy sparkly green paintjob on the Dual Sporty Project! Bling bling!

Jessica is a 22 year young lady in the Los Angeles area. She’s not been riding that long, but she’s already breathed life back into her 1968 Honda CB350 basket-case project motorcycle.

Sofi has been featured on the MotoLady website many times in the past, and it’s no wonder why. She’s an inspiring woman with an infectious smile and a ton of talent. Between building bikes and being generally awesome, she managed to take some time away for an interview.

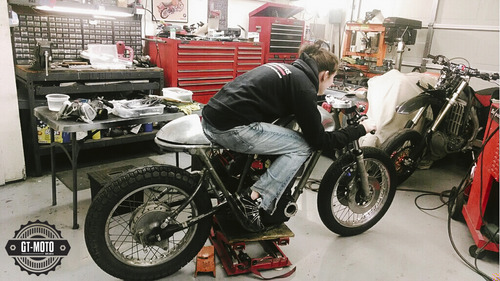
Progress on the Dual Sporty project- the dreaded Harley frame chop. Rather, the sub-frame chop.
Sofi Tsingos has launched the website for her awesome project, GT Cafe for Cause! After her father George was diagnosed with Cancer she started this project to help keep his mind off the battle. I invited her to write a guest article. “…I decided to build a bike, raffle it off and donate the money to those who work tirelessly to help cancer patients continue to stand strong, to continue to smile.” Throughout my life, as it is with just about anyone anymore, cancer has affected people I care deeply for. Whenever… Continue Reading »