Trying to get blog updates for the Monster Project all caught up, been a busy bee. If you recall, the bike was transported in pieces to SDS via my Honda coupe.

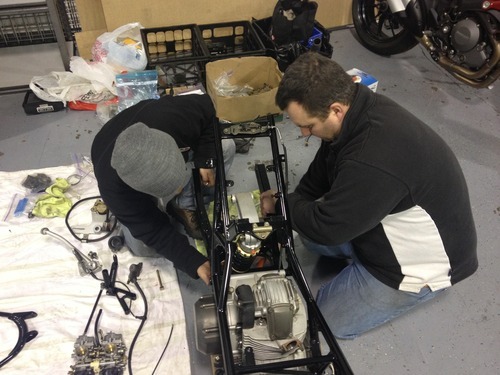
Those who payed attention to instagram saw it being put back together by myself and the veteran racer Nobi Iso.
First my friend Shelby and I tried to put it back together in my garage. Honestly, it had been so long, I didn’t even consider the fact that I had to have the engine in the frame in order to mount the swingarm and rear wheel. No roller until the engine is in place.
Long story short, I talked Sage Wilkinson (Ducati mechanic and old coworker of mine) into letting me put it back together at his shop.
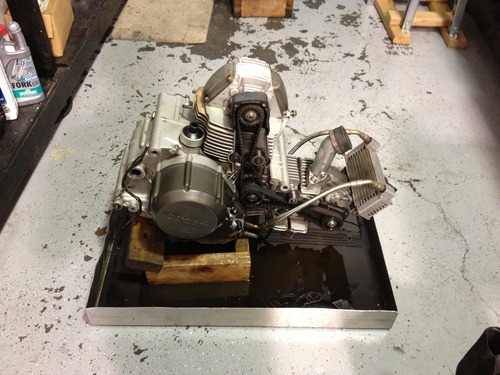
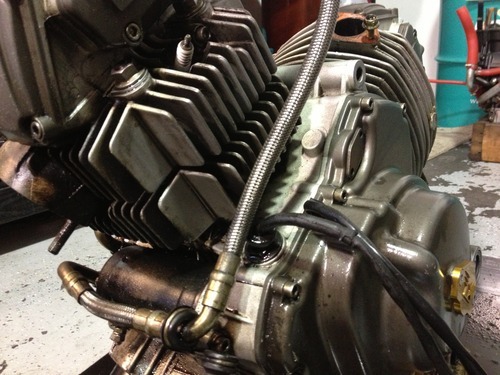
We began by cleaning the engine. Nobi wanted to drench it in gasoline for a day or two straight before I started scrubbing. So, this is what we did.
Using many pokey things and toothbrushes, I cleaned out the crevasses.
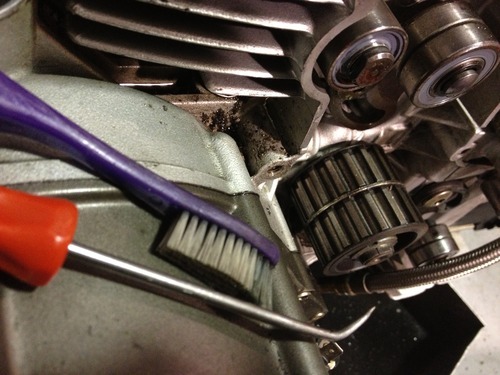
Scrub, spray… scrub, spray… scrub…
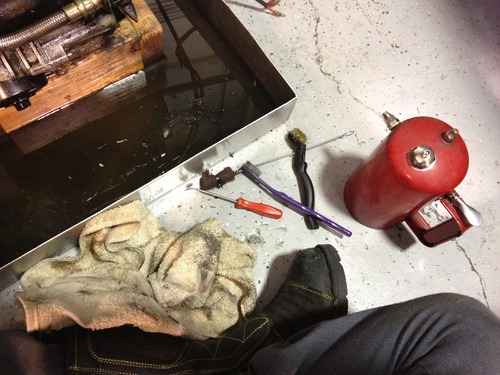
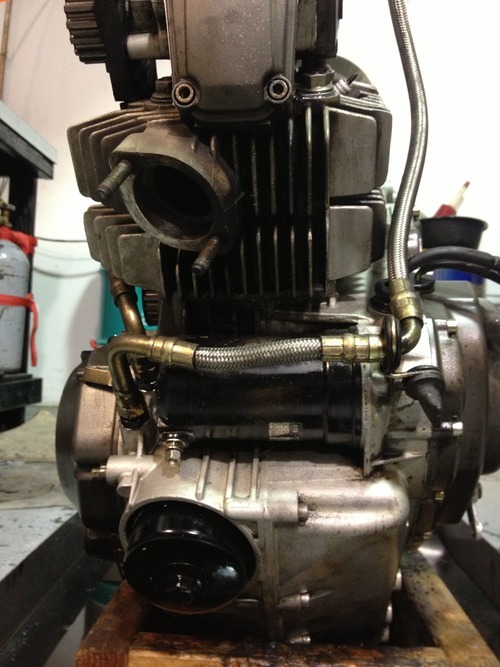
More tools added to the repetoire…
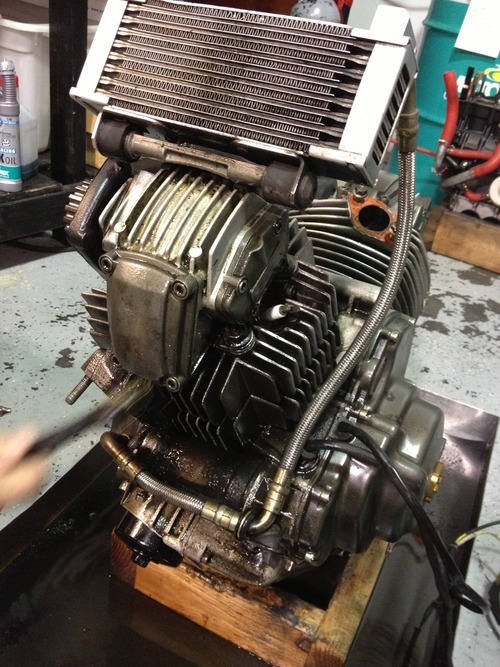
Starting to look a little better now.
I am happy with the result.
What a huge difference all that elbow grease made!
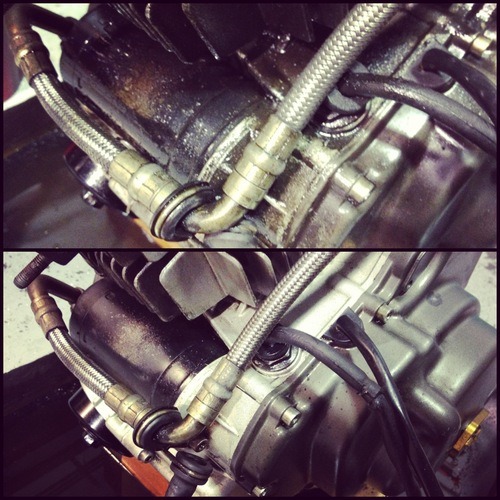
Nobi went at it some more because apparently there ARE people in the world who are pickier than I am.
After the cleaning was done, I took off with my parts on a mission to fix/powdercoat so I could get the chassis together. I headed off to Bridge City Cycles! When I picked up my powdercoated parts, I noticed too late that they had just gone over important joints, bolts, etc.
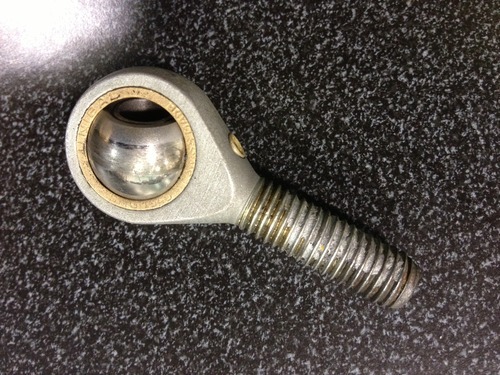
It’s my fault really, I should have made sure to go over all that crap. Anywho, Anthony helped me out and used brute force to break the heim joints free, then chemically stripped them for me so I could still use them (hopefully).
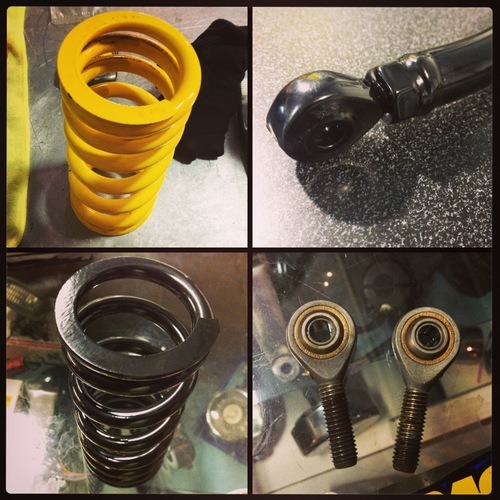
Super quick turn around, beautiful work… Bridge City Cycles to the rescue! Below left, my clean rear shock spring before and after powdercoating (awesome job, thanks guys!) and right, the cleaned up heim joints. Hooray!
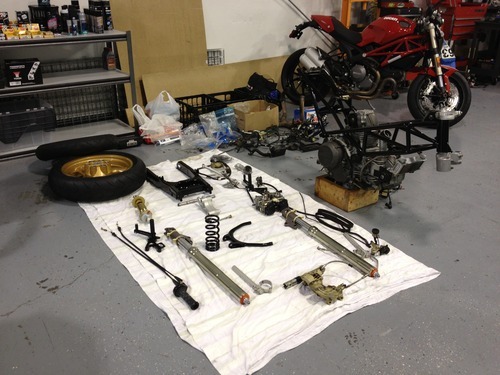
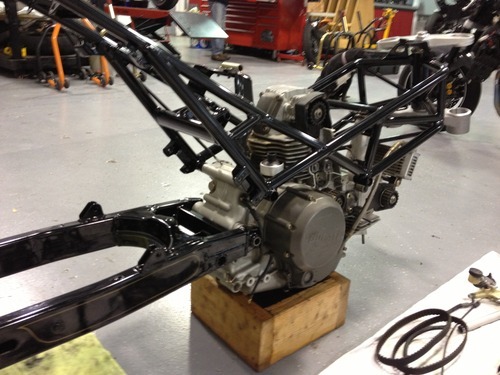
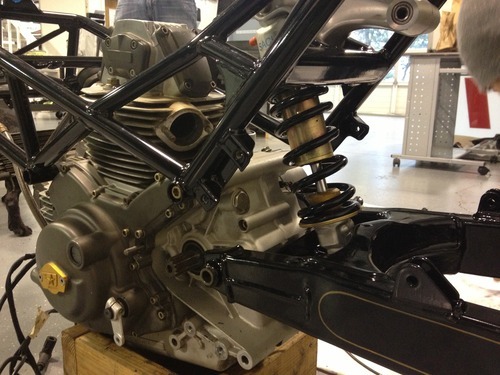
With my parts now prepped, I was able to put together the frame, attach swingarm, etc.
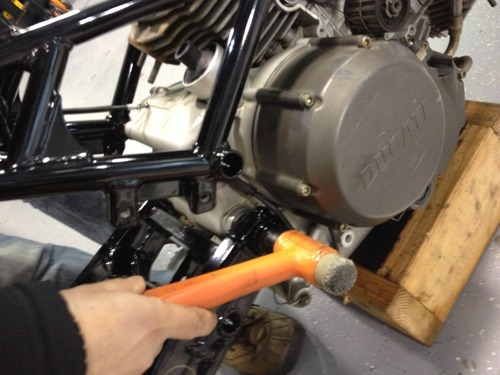
Apply a very small amount of heat, and WHACKREALHARD until it goes in. Sage is very good at this.
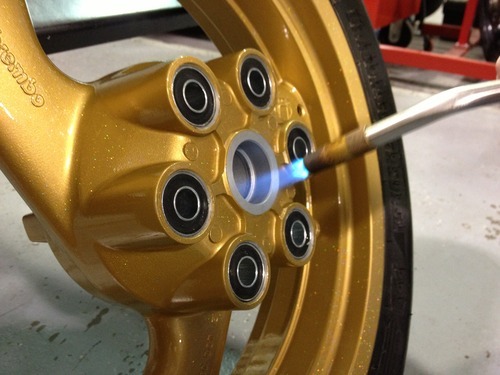
Good to go.
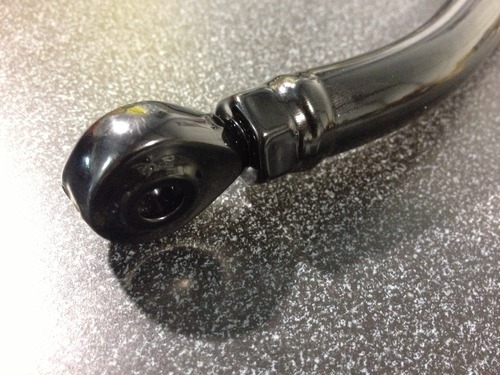
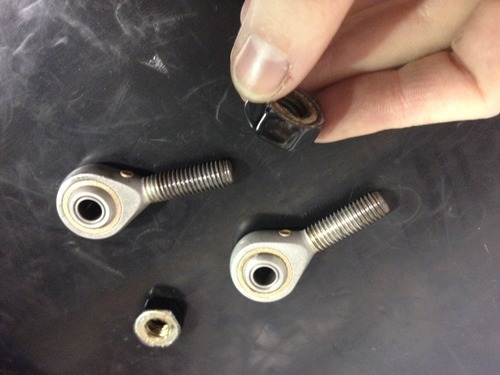
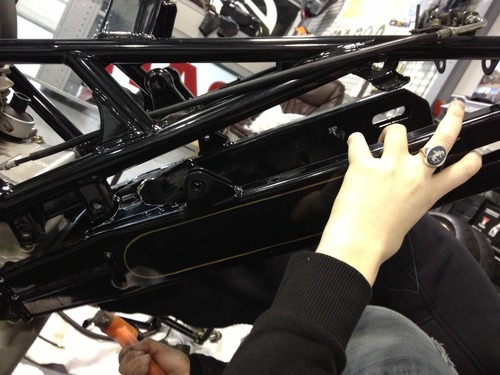
While Sage tackled the rear axle bits, I took a rough spongy thing to the inside of the bearing in the heim joint for the swing arm ‘wishbone’. It had gotten kind of roughed up while seized, and also needed to have the threads cleaned.
The joints are now cleaned up and ready to rock. The powdercoated bolts that go on the base however look funky from being broken off. I sanded them down a bit hoping it’d look okay. (It did.)
Finally ready to have the swing arm mated with the engine once again, we go for it.
Ta da!
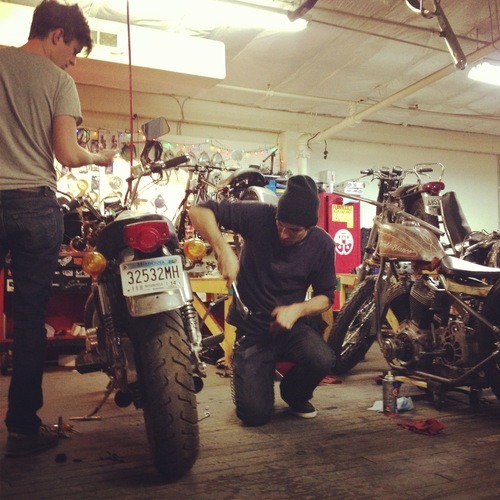
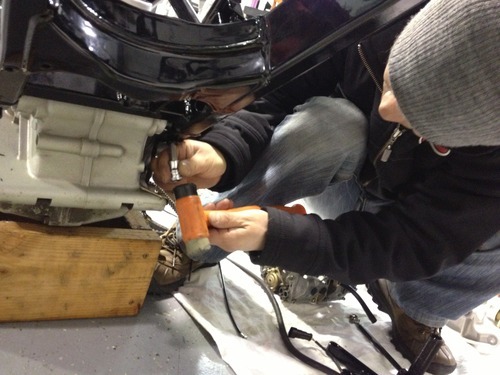
Holding the swing arm up so Nobi can get underneath with an allen wrench in a socket, whacking it with a hammer to break through the powdercoat. (Sigh. Add this to list of things NOT to mess up on future builds.)
The tactic worked and we were back in business soon enough.
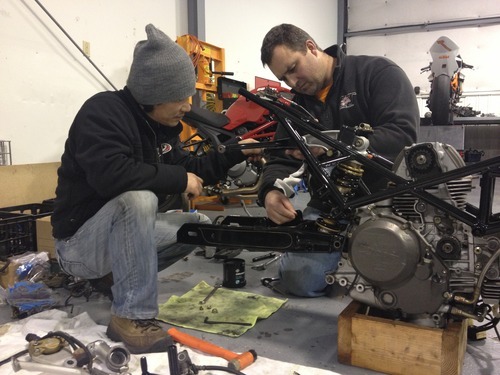
Sage stepped in at this point and showed us how to get the rear shock and swing arm wishbone piece all together correctly.
In the photo below you can see Sage holding the wishbone piece of the swingarm assembly with the cleaned heim joints back in place. The correct order you have to do this stuff in would be hard to figure out without guidance, and I’m very thankful to have had Sage’s help.
Everything in place and ready to go!
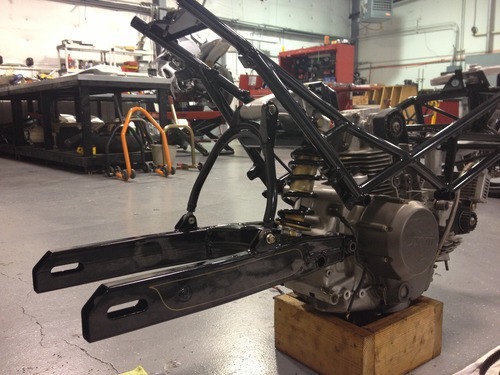
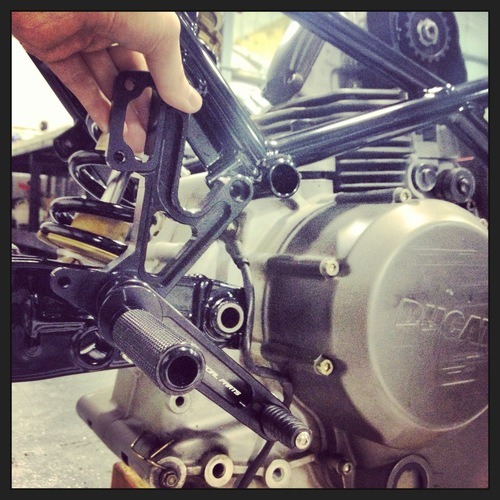
The black on black of the rear sets to powder coat looks good.
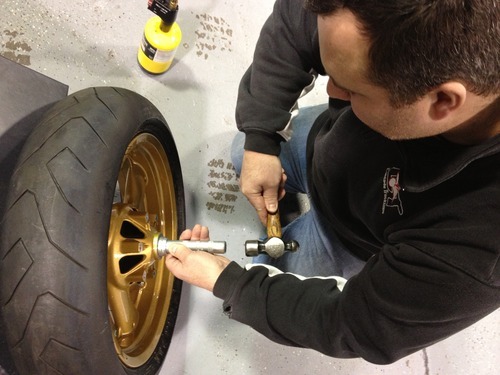
So at this point I discovered my rear axle, cush drive, sprocket, etc were all missing. I headed out, with my mission to find them so I can finally put the wheels on this beast!
☣

Ever look back at photos from trips and realize that you don’t have any with your motorcycle? Photos with people included are way more memorable, even though we love looking at our sexy machines. Amanda Zito and I made a little how-to video with tips and tricks for snapping photos of you on your bike!
Tags: blog, build, custom, ducati monster, mechanic, monster project, motolady, motorcycle, motorcycles, nobi iso, project, sage wilkinson, sds performance, shop, the moto lady, the motolady
Posted on April 29, 2013 in Blog by Alicia Mariah Elfving